

Top 5 Decorating Tips for a Stunning Home Transformation
Renovating your home can feel like an overwhelming challenge, especially when you’re trying to achieve that perfect, polished finish. Whether you’re a seasoned DIYer or a first-time home decorator, one thing is for sure: achieving a professional look doesn’t have to come with the professional price tag. In fact, the key to a successful transformation lies not in rushing through your projects but in embracing the process, preparing well, and choosing the right tools and materials.
1. Preparation Is Key—Don’t Skip This Step!
When it comes to home decor and painting projects, preparation is everything. No matter how gorgeous the paint color or how high-end the furniture, a bad foundation will show. Preparing your space properly before you start is crucial for achieving that smooth, professional finish that everyone desires.
Clean, Sand, and Fill
Before picking up a brush, make sure you’ve thoroughly cleaned the surfaces you’re working with. Dust, grease, and dirt will all interfere with how the paint adheres, leading to a patchy, uneven result. This includes washing the walls (especially in high-traffic areas like the kitchen) and scrubbing any grimy spots.
Next, focus on sanding. This step helps smooth out imperfections and creates a surface that allows the paint to stick more effectively. Sanding is particularly important when dealing with textured or rough walls and surfaces like old wood or cabinet doors. Even a little bit of smoothing out goes a long way in making the final result look more polished.
Lastly, fill any holes or cracks with a good-quality filler, I used Toupret Ready to Use Interior Filler*. Small nail holes and imperfections might seem insignificant, but they will show up once your walls are painted. Make sure the filler is completely dry and smooth it out with sandpaper before you move on to priming.
By dedicating time to proper prep, you’ll make the actual painting process so much easier—and the results will speak for themselves.

2. Choose the Right Primer and Paint
Not all primers and paints are created equal, so choosing the right ones for your project can make a world of difference. Think of your primer as the foundation of your paint job—without a good one, your finish might not last or look as smooth as you’d like.
Why Primer Matters
The right primer creates a good bond between your surface and the paint, helping the color adhere better and ensuring an even application. For example, I used Zinsser Bin Aqua* on a variety of surfaces in my home, from previously painted walls to tricky areas like kitchen cabinets. This primer is incredibly versatile and works well with both oil and water-based paints, which is especially helpful if you’re working with older paint layers or transitioning from one type of finish to another. It’s a lifesaver if you want your paint to last longer and cover better, especially on problematic areas.
Don’t Cut Corners on Paint Quality
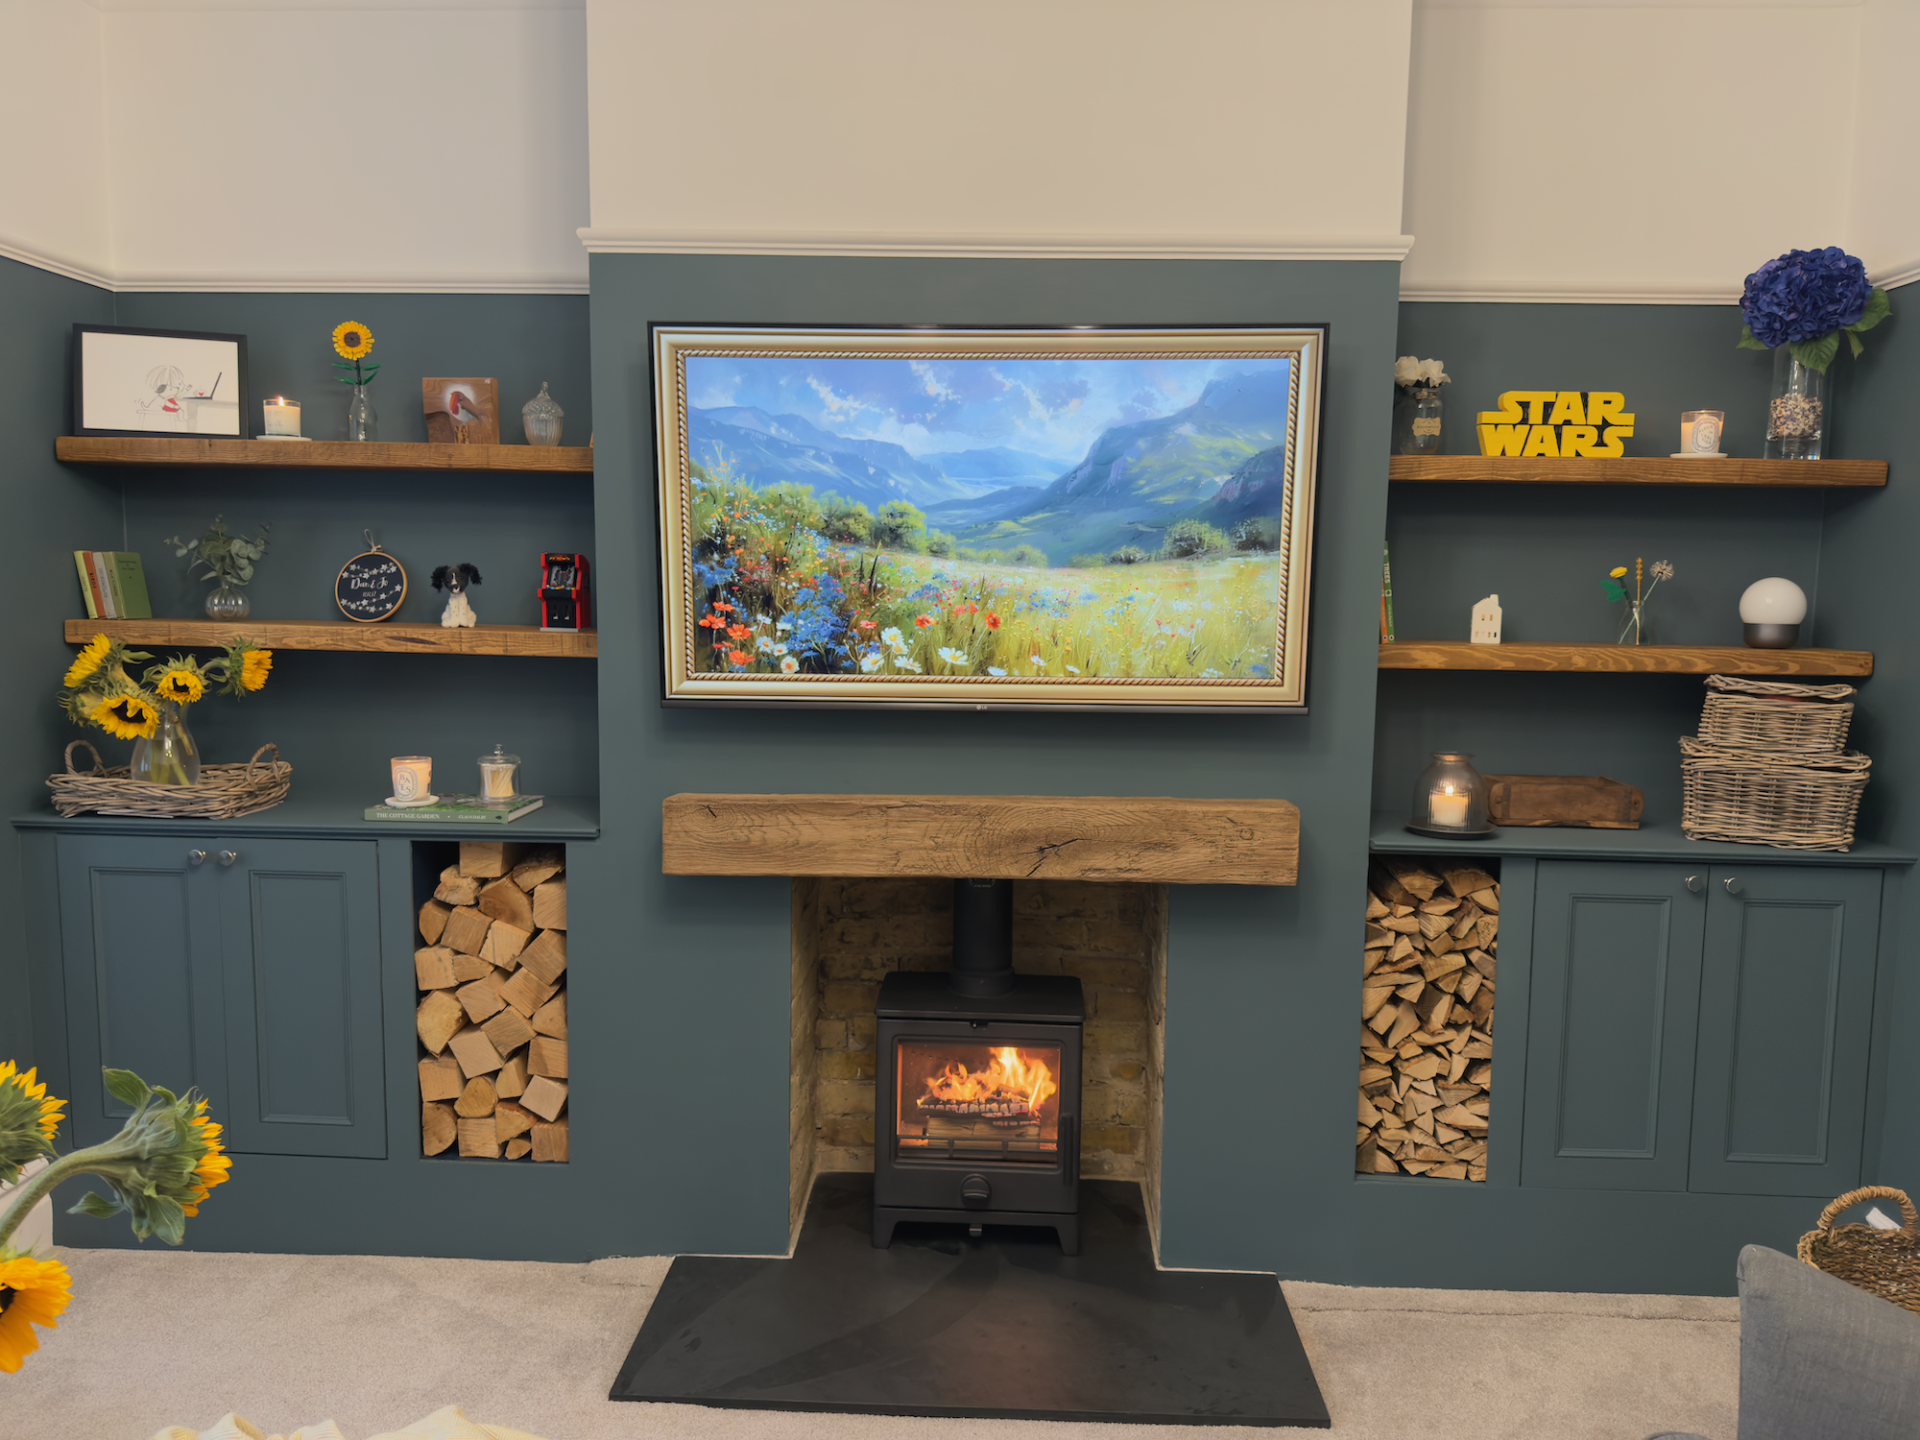
When it comes to paint, quality matters. While the paint you choose will depend on your room’s needs and the look you want, always opt for high-quality products. I used Farrow & Ball* paint for the walls in my living areas, which provided rich, even coverage with a subtle sheen that enhances the overall aesthetic of the room. For specialized projects, like painting kitchen cupboards, I chose Rustoleum*, which offers excellent durability for high-use surfaces.
High-quality paints have better pigmentation and longevity, and they’re often easier to apply than cheaper alternatives. If you’re trying to save money, buying cheap paint might seem tempting, but in the long run, it can lead to a disappointing result that requires more coats and touch-ups.
Tip: Always test a small patch of paint before committing to large areas. Colours can look different once they’re applied to a full wall, and lighting can greatly affect how a color appears.

3. Invest in the Right Tools for the Job
Investing in quality painting tools is essential, and it’s a step that many people overlook. While it’s easy to get caught up in picking out the perfect colour, the tools you use will ultimately determine how smoothly your project goes—and how professional the end result looks. You can read a whole post on all the decorating tools I use here.
The Essential Tools
During my year-long painting journey, I quickly realized that a few key tools made a huge difference. Here are some must-have tools for any painting project:
- Angled Brushes: These brushes are perfect for cutting in along edges and trim, ensuring a crisp, clean line without getting paint on your baseboards or ceiling.
- Paint Rollers: Don’t skimp on rollers. I’ve found that good-quality rollers not only hold more paint, but they also leave a smoother finish with fewer roller marks. I’ve had the same set of rollers for years now because I’ve taken care of them by cleaning them properly after each use.
- Paint Tray with Liner: A paint tray helps to evenly distribute the paint onto your roller, preventing it from soaking up too much and making the process messier than it needs to be.
- Paint Pail*: This tool is a game-changer for projects. It helps you keep your hands free from handling heavy paint cans and allows you to pour the right amount of paint as you work, reducing waste.
By investing in the right tools, you’ll make your painting tasks easier, faster, and more efficient, which is especially helpful when you’re tackling multiple rooms or a large-scale project like I did.
4. Manage Your Time and Expectations
One thing I learned the hard way while painting my entire house is time management. When you have multiple rooms to paint or an intricate project like a kitchen makeover, it’s easy to underestimate how long things will take. The truth is, home decorating projects often end up taking more time than anticipated, and that’s completely normal!
Set Realistic Goals
When I started my painting project, I had ambitious expectations of finishing in a few months. However, I quickly realized that certain tasks (like prepping the walls or applying multiple coats) take far longer than expected. I also encountered setbacks like drying times, unexpected touch-ups, and challenges with more complicated areas like trim and doors. The result? I had to pace myself and adjust my timeline as I went along.
To avoid frustration, always set realistic goals and leave plenty of room for unexpected delays. If you think a room will take two days to finish, give yourself three or four. Be kind to yourself about setbacks and remember: it’s a process, not a race.
Embrace the Journey
Another important lesson I learned is to embrace the process. Home decorating can be stressful, especially when things don’t go according to plan. But remember: it’s all part of the journey. The satisfaction of seeing your hard work come to fruition makes all the hurdles worth it. Plus, every mistake or challenge provides an opportunity to learn and improve. So, don’t rush—enjoy the process and take pride in every step.

5. Add Your Personal Touch
One of the most rewarding aspects of home decorating is the chance to add your personal touch to the space. Whether it’s through custom-painted furniture, DIY art, or simply adding unique accessories, your personality and style should shine through in your decor choices.
Make It Yours
In my home, I used different paint types for different areas: Farrow & Ball* for the walls, Rustoleum* for the kitchen cabinets, and Zinsser All Coats* for specialized projects. The mix of finishes and textures made my home feel unique, and it helped bring my vision to life.
It’s easy to get caught up in trends or the advice of others, but remember that your home should reflect your style. Whether you prefer bold colors, neutral tones, or eclectic vintage pieces, make sure that your home feels like a personal sanctuary.
Color Matching Tip
One note about color matching: while it’s tempting to go for perfectly matched hues, its usually best to use the original brand. I learned that Farrow & Ball colors, for example, often have a distinct, luxurious quality that can’t always be replicated by matching with other brands. Don’t be afraid to play with color—let your home reflect your personality, even if it means stepping outside the lines of conventional color schemes.
Conclusion: Enjoy the Process and Celebrate the Results
Achieving a beautiful home transformation is within reach, and with these five decorating tips, you can approach your next project with confidence. Whether you’re taking on a massive painting job or refreshing a few rooms, the most important thing is to embrace the process, from preparation to the finishing touches.
By investing time in preparation, selecting the right materials and tools, managing your time wisely, and adding your personal flair, you can create a space that feels truly your own. The journey may be long and sometimes frustrating, but the result will be a home you can be proud of—one that’s not just beautifully decorated, but also filled with love and hard-earned satisfaction.
Happy decorating!








0 Comments